1. Intro
Glad you're still with us. In the previous section we've learned the basic stuff to set up accounts and we've seen how we can change typos in the Account properties dialog. Let's get to the basics of checking mail! I mean, that's what's a mailer for?
2. Check that mail!
Checking mails can be done from several parts of the program. First of all,
go to the main menu, click on the item Accounts. You see different options
to check or send mail: basically you can send or check mail from/for a
selected account (or default account) or you can choose for retrieve
send all. The latter functionality is pretty handy if you've more than
one account.
Now, go to the toolbar:
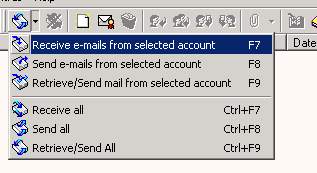
Look who's clicking?
If you click that 'arrow down', a menu opens with the same items as the
Account menu.
That's not a knife, eh? Now there are three other ways to check mail: I
recommend to look them up by yourself.
Good. Let's hit the button: Receive/Send All (retrieve/send mail from
selected account if you have just one account set up).
3. You have mail!!
The moment you hit that button, Phoenix Mail will try to make a connection to the mailservers as typed in the Account Properties dialog (see the first tutorial) and will likely show the following dialog:
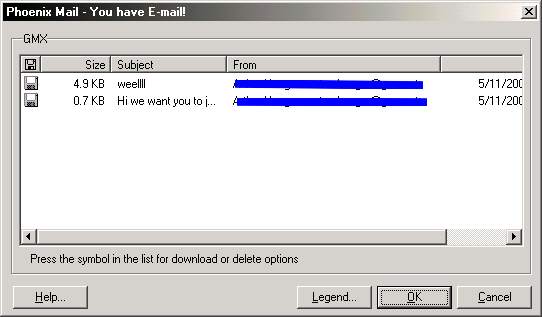
Is that a mail knocking on my door?
This dialog can actually always be turned off in the Settings dialog.
Locate the DUN Tab in this dialog.
I recommend to leave it on for now, because this dialog is actually
pretty powerful: it permits to delete e-mails right-away. How?
Check that Legend button out and click it. The next screen shows
you exactly what each icon means. Click on the E-mails button to go
back and try to click on the first column of the first item in the
list. See? Continue clicking until it shows the original icon.
If it wasn't for Phoenix Mail, well, there's another way to set
the status of an e-mail: right click on the item and Phoenix will
show you a pop-up menu. Easy?
Now just download these e-mails, by pressing OK.
4. Where did they go?
All new mails generally end up in the Account's Inbox folder (unless you specified filters!).
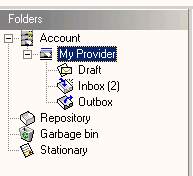
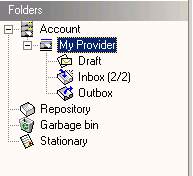
Different ways of showing mails...
Watch the 'visual' reminder of the Inbox icon. Above pictures show different
ways of showing mail in folders (the second one has the option 'Show all
mail in parentheses', check the Settions dialog!).
Now click on the Inbox folder and watch the mail appear in the messagelist. Click
on an item to show the contents of an e-mail.
5. How can I see the specific mail things?
Right. I don't know what you mean. Phoenix Mail has a neat way to show you specific 'E-mail properties'. You got it: it's most likely in the E-mail menu. Or try right clicking in the message list and select/click 'Properties...'. There you go.
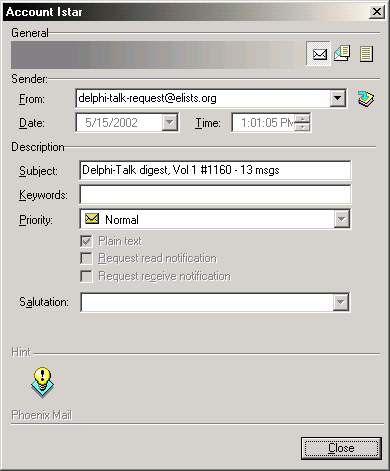
The e-mail properties
On the top right part of the window are the 'so-called' Viewer buttons:
from left to right they allow you to view the 'From', 'To' and other
header parts. If you're not sure what every field means, just move your
mouse over any field or control and watch the Fly over hint box.
This dialog gives you also quick access to the addressbook, so you can
easily add new e-mails to your existing addressbooks.
6. Conclusion
In this part you have learned how to check your mail and where the new mails are stored. Also we took a quick look in the e-mail properties dialog. Hit the browser's back button to go to the next tutorial.